Blur Face Tool
Settings
Upload an image, draw blur areas, and adjust intensity.
Preview
How to Blur Face or Area in Images
👉 Step-by-step Guide
About the Blur Face Tool
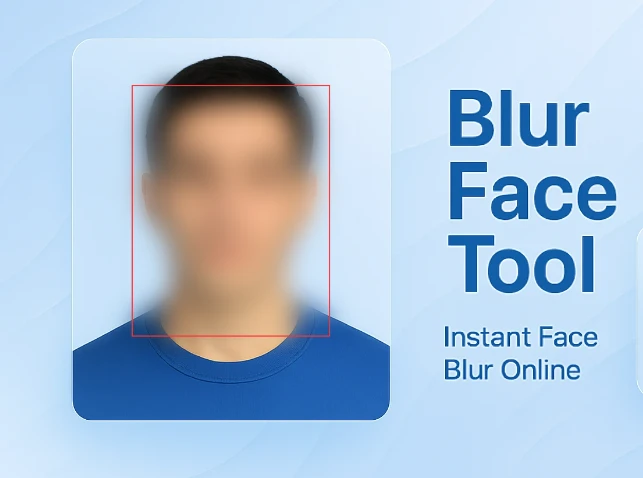
What is the Blur Face Tool?
The Blur Face Tool is a lightweight browser-based tool designed for face anonymization and other private photo regions. The face anonymization process is performed entirely within the browser. Your private images are not uploaded to any server. Draw your own blur rectangle to choose specific regions for face anonymization or any other private photo region. The intensity of the blur effect can be set to any value between 1 to 50 pixels.
The Blur Face Tool is best suited for digital privacy protection, data anonymization, face anonymization for social media sharing, etc. The Blur Face Tool is best suited for photographers, journalists, and other digital content creators who need to anonymize faces or perform data anonymization before publishing images or documents.
Key Features
- Manual Blur Control - Draw your own rectangle for face anonymization or any other private photo region.
- Flexible Editing - Resize, move, or delete your blur rectangle with ease.
- Adjustable Blur Intensity - Adjust the intensity of the blur effect to any value between 1 to 50 pixels.
- Image Blur Tool: Securely Blur Faces and Sections Online Blur multiple faces or image sections with ease.
- All images are processed locally on your device; no images are uploaded to our servers.
- Supports JPG, PNG, GIF, and WebP image formats for diverse image editing needs.
- HD Images: Export your edited images in full resolution as PNG images.
- Live Preview: Every edit is reflected live before you download your edited image.
Core Use Cases
- Media & Journalism: Safeguard source identities or sensitive subject matter in published photography.
- Social Media: Quickly blur out backgrounds or people before sharing images to your social feed.
- Identity Security: Blur faces or remove PII (Personal Information) before sharing images or files online.
- Legal Industry: Securely redact sensitive information for safe digital sharing.
- Real Estate: Blur license plate numbers or addresses for client privacy.
- Medical Industry - HIPAA Compliance: Maintain patient anonymity for educational or clinical research images.
- Academic Use: Blur student identities for presentations or school materials.
- Personal Use - Personal Privacy: Quickly and easily blur images for personal digital safety and sharing.